Watton Tile Cleaning

Watton Tile Cleaning

Welcome to my Work History archive where you will find examples of the cleaning and renovation of tiles carried out in Watton.

Quarry Tiled Floor Before After Grout Haze Removed Watton

Resolving Quarry Tile Installation Issues in Watton

Our client in Watton had a new Quarry tiled floor laid at her home and all went well until the tiler came to seal the finished floor after grouting. Needless to say, she didn’t get the finish she was expecting and told us that the tiler had admitted that he had no clue how to address the problem and had told her to contact a specialist to do the work and was happy to cover the cost.

Quarry Tiled Hallway Floor Before Renovation in Watton

I shouldn’t complain as its Tile Doctor who gets called in to resolve these issues, but there does seem to be a training gap with many tilers having no clear idea how to properly finish a new floor tile installation.

The problem was immediately obvious from the photos she sent over; grout had not been completely polished off the Quarry tile surface leaving a dull haze over the floor. The floor had then been sealed and this had only served to emphasize the slightly grey, dusty and lacklustre appearance of the floor.

Removing Grout Haze from a Quarry Tiled Floor in Watton

To remove the grout haze, it would be necessary to remove the sealer first, so I spent the first part of my visit breaking it down with a powerful 2:1 dilution of Tile Doctor Pro-Clean. The solution was left to soak into the floor for about ten minutes before being scrubbed in using our Klindex rotary machine fitted with a black stripping pad. The resulting slurry was power rinsed and extracted away with our 400psi Ninja machine.

Having done this, we could see that the grout haze was still present in many areas and was becoming very pale and patchy as the tile surface dried out. With the sealer now removed I turned my attention to the removing the grout. This was rectified by applying Tile Doctor Grout Clean-Up and then rinse extracting as before. This left the floor spotlessly clean and would be ready for sealing the next day after being left to dry off overnight with the aid of our industrial dehumidifier.

Sealing Quarry Tiles in Watton

We returned to Watton on the following day to meet our client and explain the various sealing options available, from no-finish penetrating sealers to high gloss acrylics. After much discussion, we realised that the client had originally expected the finished floor to have a noticeably shinier appearance than the matt finish colour enhancer that the tiler had used but without the glare of a high shine product.

After weighing up the client’s requirement the obvious choice was to use Tile Doctor Seal & Go which is a water-based sealer with a mid-sheen finish which makes daily maintenance much easier and more effective. We applied this sealer in five thin coats by hand using microfibre cloths, allowing 30 minutes drying time between each coat.

Quarry Tiled Hallway Floor After Renovation in Watton

The client was absolutely delighted with the result we achieved and said that it was exactly the way she had expected the floor to look when they originally chose the tiles.


Finishing a Quarry Tiled Hallway after Installation in Norfolk

Resolving Quarry Tile Installation Issues in Watton Read More »

Yorkstone Hallway Restoration Carbrooke Finished Floor

Restoring a Carpet Covered Sandstone Hallway in Carbrooke

This was perhaps the most challenging restoration we have been presented with to date.
The work involved removing carpet and underlay from a long Yorkstone tiled hallway at a beautiful old Grange in Carbrooke on the outskirts of Watton and restoring the flagstones to their original glory. These pavers are a type of Sandstone, a carboniferous sedimentary rock consisting of quartz, mica, feldspar, clay and iron oxides quarried in Yorkshire and having a rich sandy colour with a slightly sparkling surface.

On lifting the carpet, we found, to our dismay, that the rubber-backed underlay had been firmly stuck down to the surface of the stone with what appeared to be a thick layer of yellowing impact adhesive which covered the entire area right up to the thresholds and skirting boards.

Yorkstone Hallway Restoration Carbrooke Carpet Removed Revealing Underlay Yorkstone Hallway Restoration Carbrooke Underlay Peeled Back Revealing Glue

Stripping Carpet Adhesive off a Sandstone tiled floor

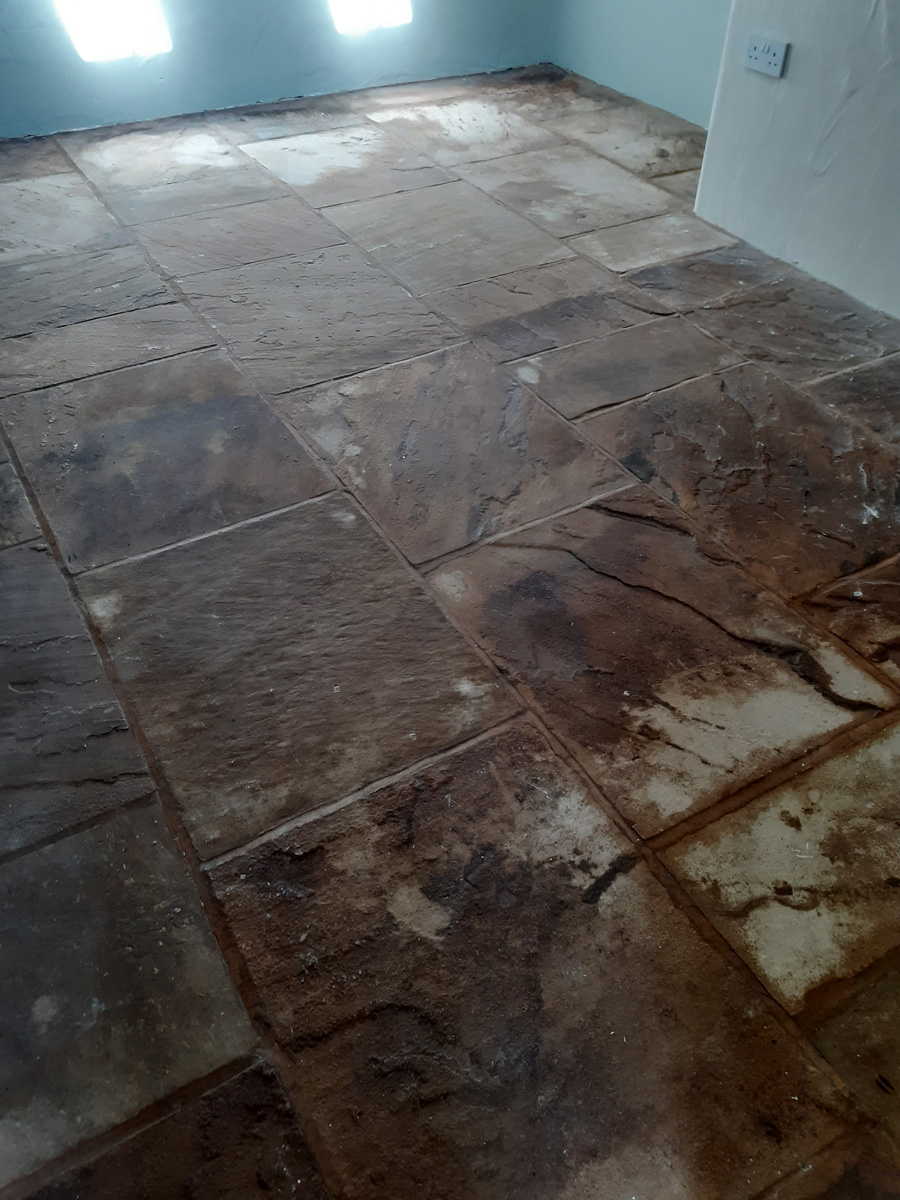
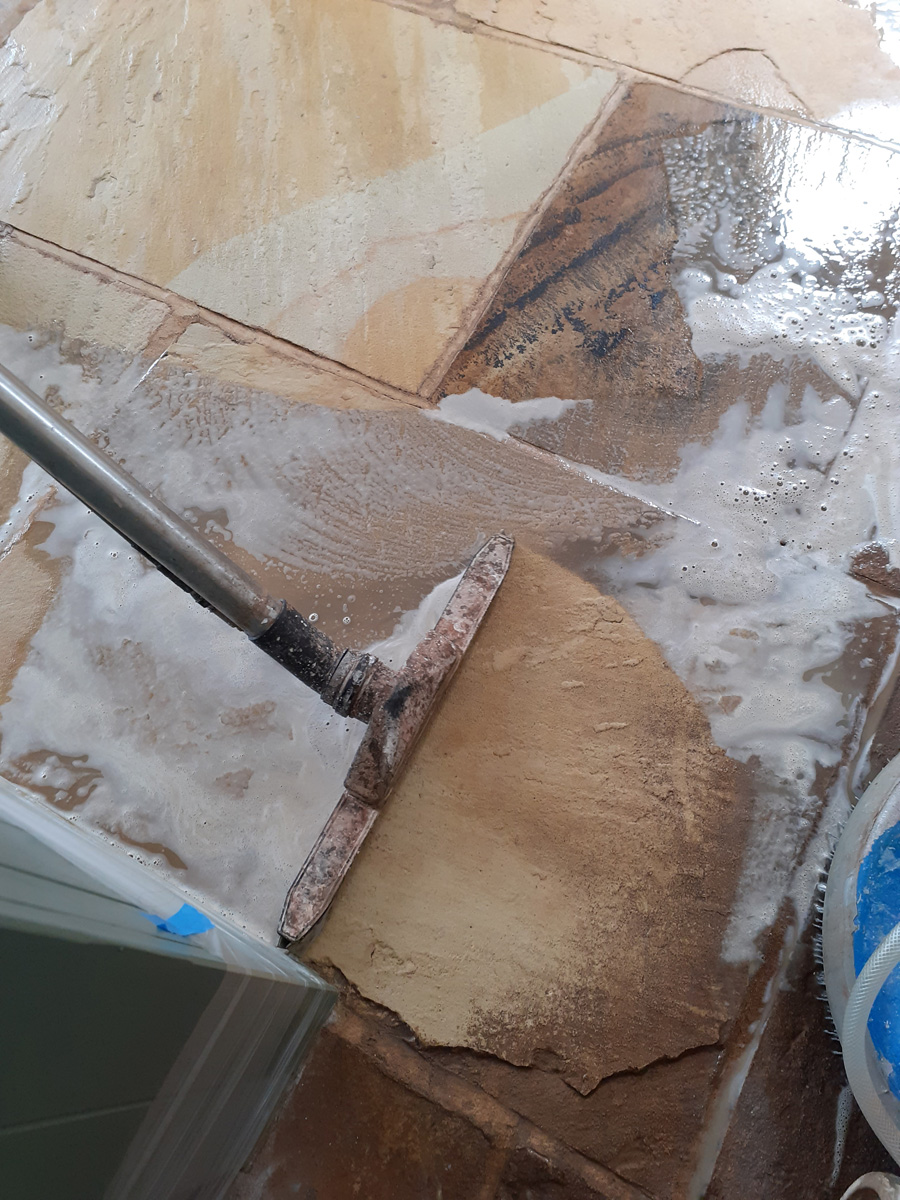
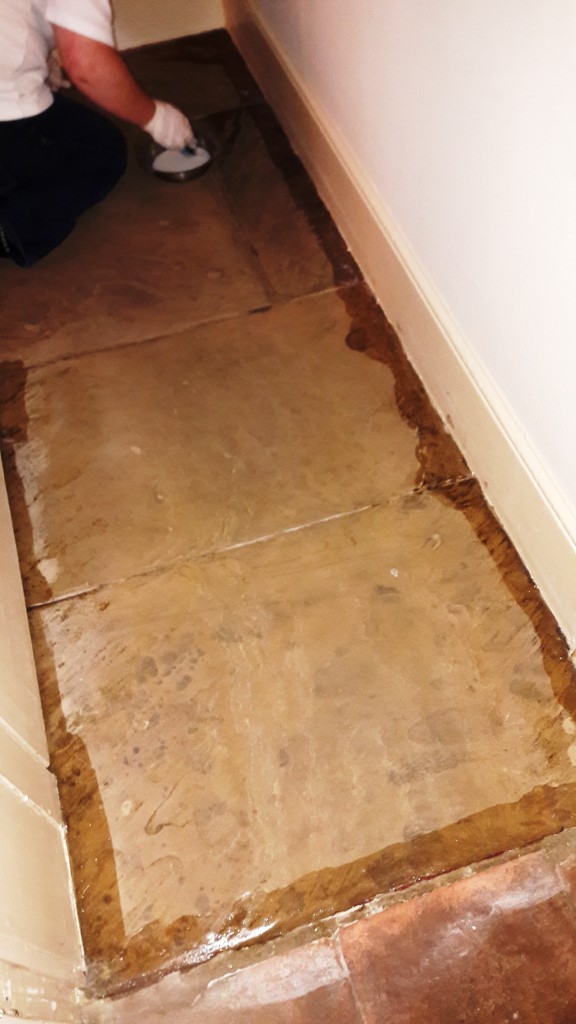
Our first task was to remove as much of the underlay by hand using sharp-bladed scrapers and a heck of a lot of elbow grease. Having done this, the next step was to cover the remaining adhesive layer with a specialist water-based stripper which was applied by brush and allowed to react for an hour. The result was an incredibly sticky substance with the consistency of chewing gum which we had to painstakingly remove inch by inch with paint scrapers. This process had to be repeated twice as even the specialist stripper couldn’t cope with the sheer volume of goo in a single application. The floor was then left overnight to dry out and settle down.

Yorkstone Hallway Restoration Carbrooke Applying Stripper Yorkstone Hallway Restoration Carbrooke Scraping Away Softened Glue

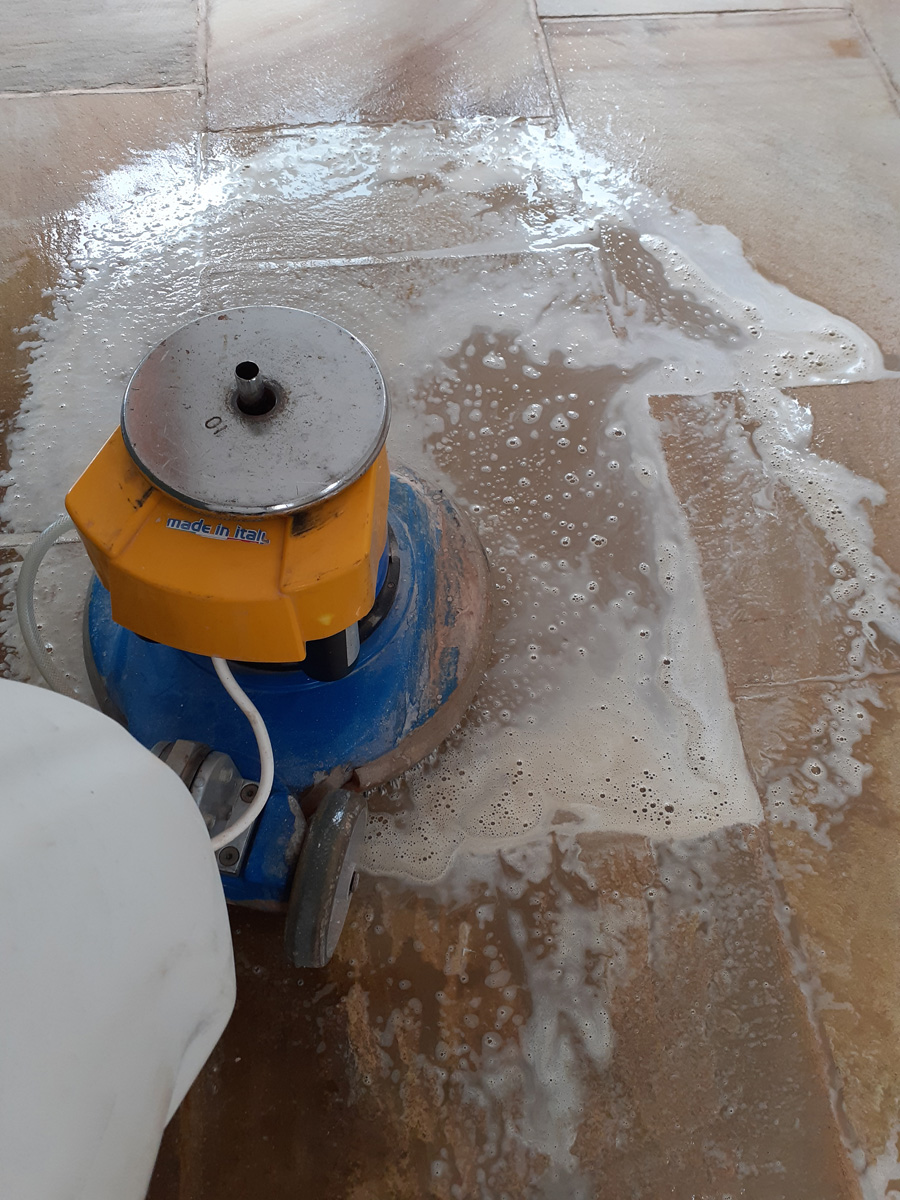
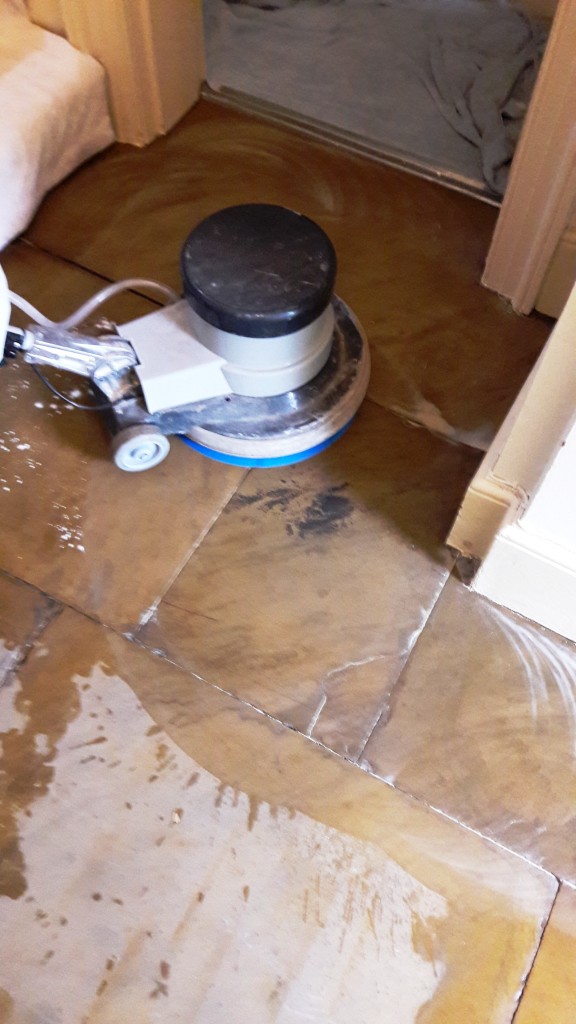
The following day, we deep-cleaned the whole area using very strong mix of Tile Doctor Pro Clean and Remove & Go, scrubbed in with a rotary machine fitted with a black stripping pad. Four pads were used up in this process as they quickly became clogged with the thick slurry which was then power rinsed and vacuumed away from the floor. Any remaining patches of the glue were further softened using Tile Doctor Nanotech HBU Remover and carefully picked off by hand with the bladed scrapers.

Yorkstone Hallway Restoration Carbrooke Deep Cleaning Yorkstone Hallway Restoration Carbrooke Stone Surface After Deep Cleaning

Finally, the slabs were finished using a brush fitted to the rotary machine with 320 grit honing powder to achieve a smooth, silky and very clean surface before being power rinsed with plenty of clean water. Again, the floor was left to dry thoroughly overnight with the assistance of our large capacity dehumidifier and thermostatic hot air blower.

Sealing a Sandstone tiled floor

Returning the following day, we found that the dehumidifier and heater had done their job and the sandstone was ready for sealing, the moisture content having been brought down to an average of 10% overall as shown by our damp meter testing.

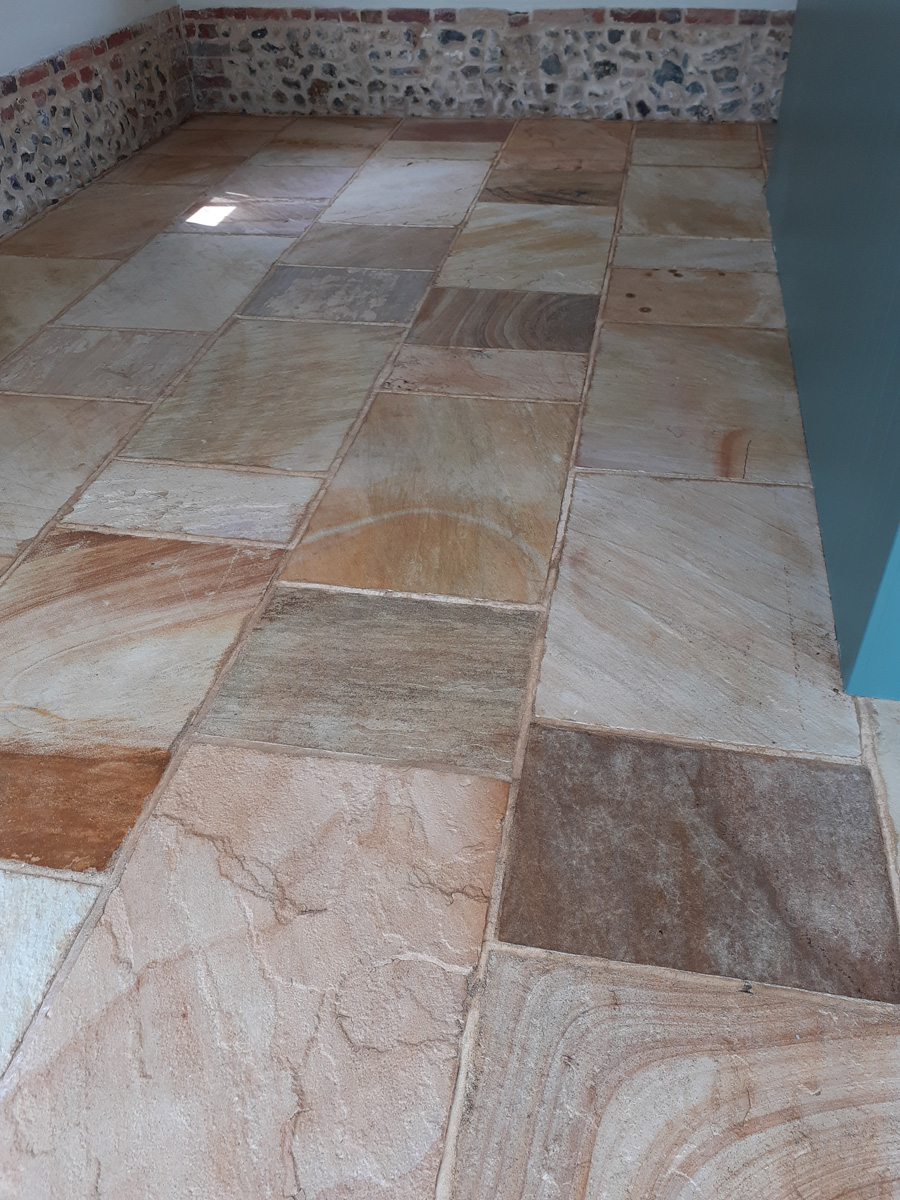
The client had requested a light shine on the floor so that it would be easy to maintain on a daily basis. We chose, therefore, to use Tile Doctor Seal & Go, a combination sealer with a mid-sheen topical finish, which we applied using paint pads and microfibre cloths in five thin coats, resulting in an excellent fluid resistant seal with a lustrous shine.

Yorkstone Hallway Restoration Carbrooke Applying Sealer To Edges Yorkstone Hallway Restoration Carbrooke Finished Floor

This was a tough job but a highly satisfying result, further emphasised when the client’s antique furnishings were placed in situ.

Deep Cleaning and Restoration of a Sandstone Hallway in Norfolk

Restoring a Carpet Covered Sandstone Hallway in Carbrooke Read More »

=================================

Norfolk Tile Doctor

================================= Read More »

Scroll to Top