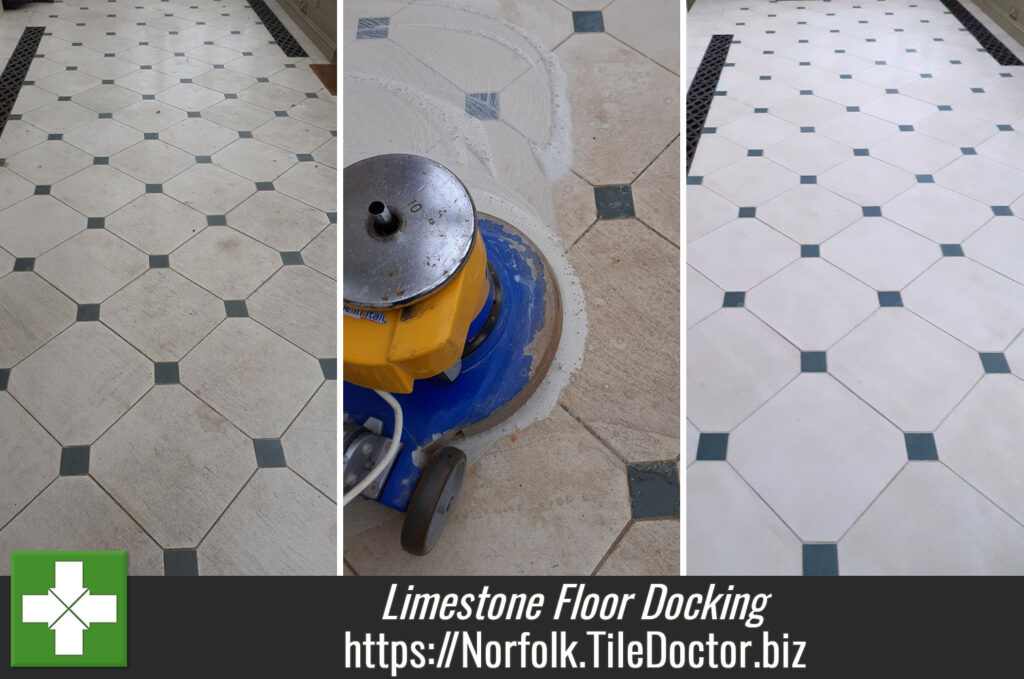
Grubby and Scratched Portland Limestone Conservatory Floor Renovated in Docking
The pictures below are of a White Portland Limestone floor with Grey Slate inserts taken at a large Manor House in the village of Docking. This is a beautiful location in the heart of the North-West Norfolk countryside near Kings Lynn.
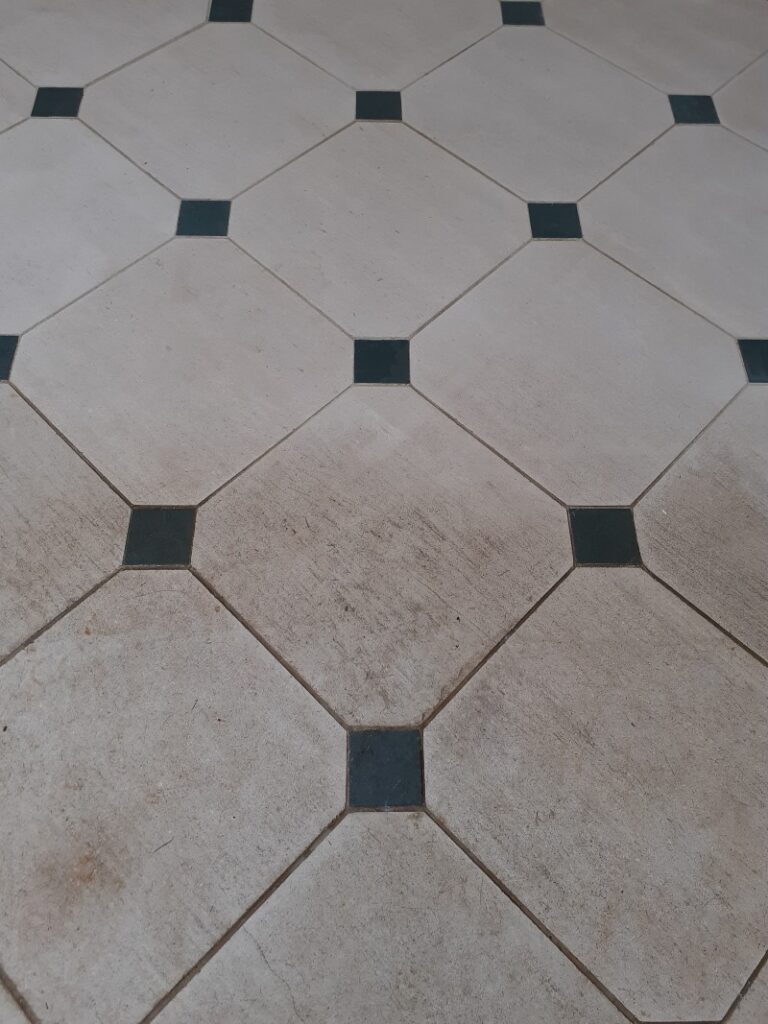
The floor was situated in the large wood-framed conservatory that ran along the full width of the property and had seen a lot of wear and contamination. The stone floor was heavily soiled with deep scratches from metal table and chairs. It had never been properly sealed when originally laid and the owner was at the point of lifting and replacing the floor as so far no one had been able to offer a solution to significantly improve it.
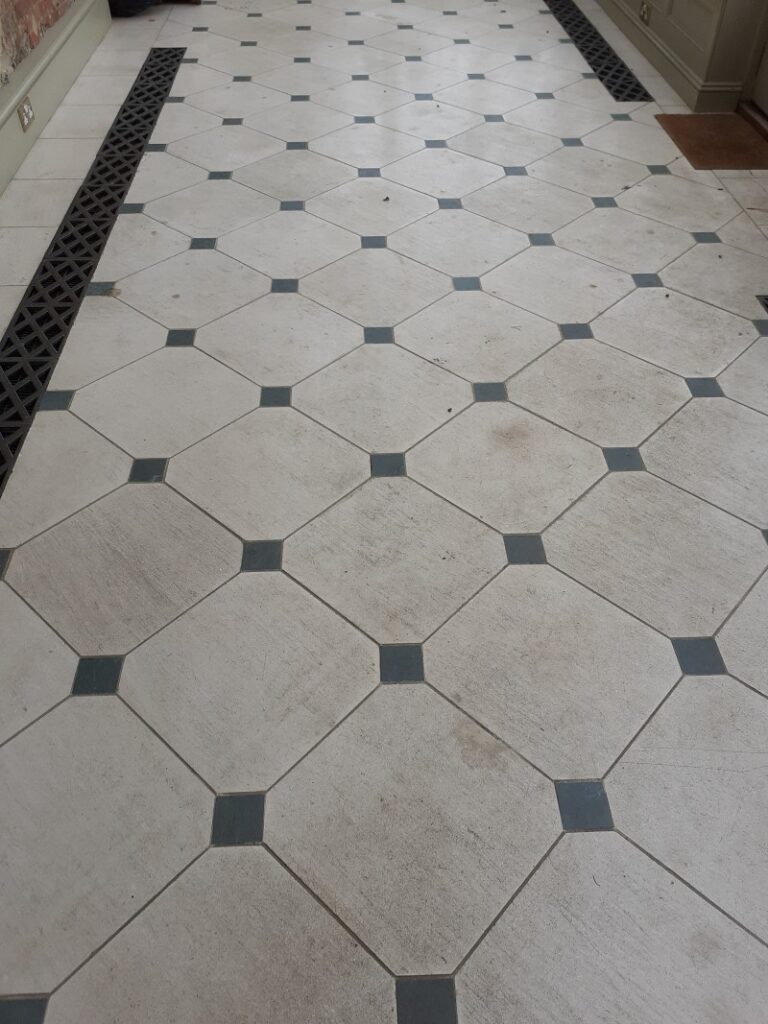
The challenge was to remove all the soiling, significantly improve the areas of deep scratching and provide an even matt finish to minimise the sunlight reflection in the room and seal against oil and fluid spills. Undeterred by the scale of the project I worked out a quote for the renovation which was accept and a date set for the work to start.
Deep Cleaning a Limestone and Slate Tiled Conservatory
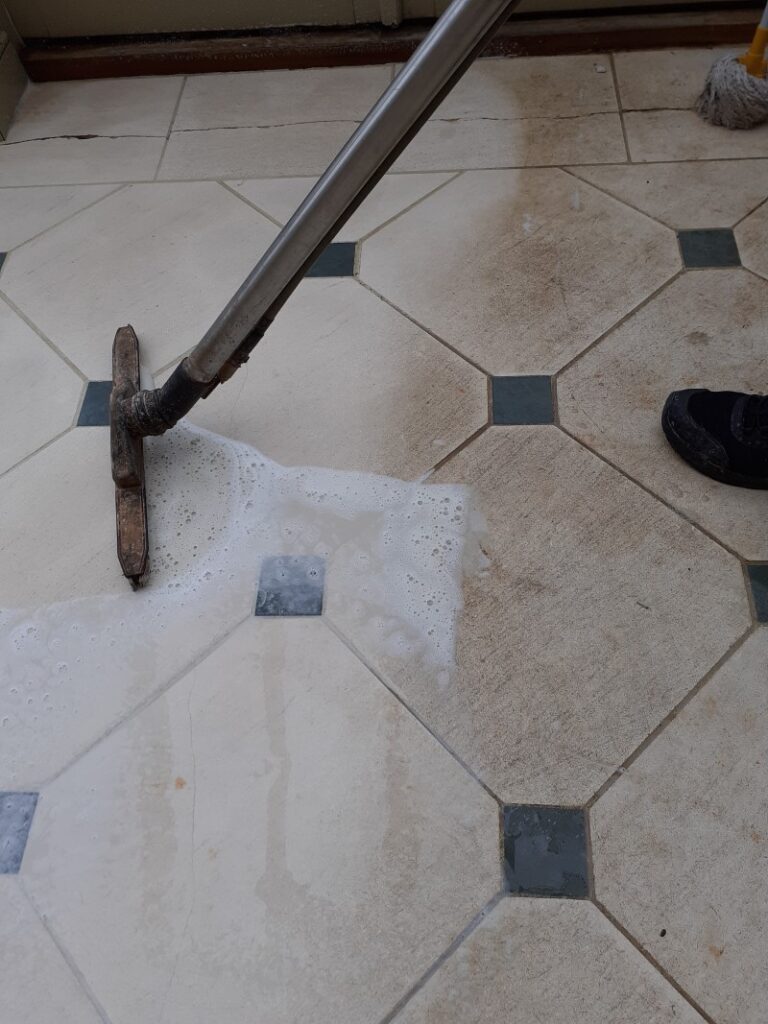
Cleaning started initially with the application of a strong 3:1 dilution of Tile Doctor Pro-Clean which was sprayed onto the floor and left for ten minutes to soak in and giving it time to break down the soils.
The floor was then scrubbed in with a 17″ Klindex rotary fitted with a coarse silicon carbide brush to release all the ingrained soils in the stone. The brush is a good choice for cleaning tiled floors as it gets into the grout lines.
 |
 |
The resulting slurry was then rinsed with water and extracted with a 3-stage industrial wet vacuum to reveal a clean tiled floor.
Removing Scratches from White Portland Limestone Flooring
To remove the scratches the stone was then milled with the Klindex machine fitted with a coarse 200-grit diamond pad and an additional 20kg weight to improve the traction. You have to be careful with these pads as they cut into the stone and can create “dished” areas across the floor surface if you overwork the patches.
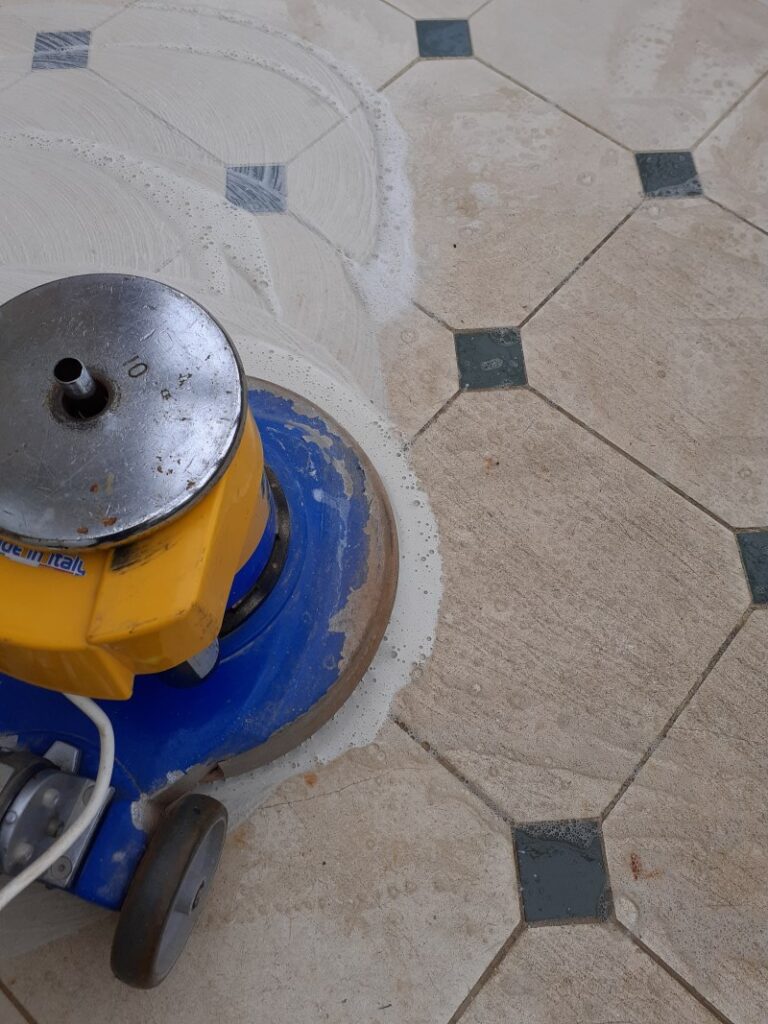
Once done the floor was rinsed and extracted as before, and the process repeated using a 400-grit diamond burnishing pad to refine the appearance of the stone. After a final rinse and extraction then floor was left to dry off overnight.
Sealing a Limestone and Slate Tiled Conservatory
The next day the floor was checked for moisture to ensure it was dry enough for sealing, this is an important check as applying sealer to damp stone can result in a patchy appearance.
Once I had confirmed it was dry Tile Doctor Ultra Seal was liberally applied to the whole floor with a lambswool applicator. A use a floor fan to assist with drying and after thirty minutes the excess sealer was removed with a white paper towel. After a further thirty-minute drying time the floor was spray buffed with a White pad to bring up its appearance.
Ultra-Seal is an impregnating sealer that works by soaking into the stone, occupying the pores and thereby preventing dirt from residing there. This ensures that dirt remains on the surface where it can be easily cleaned away.
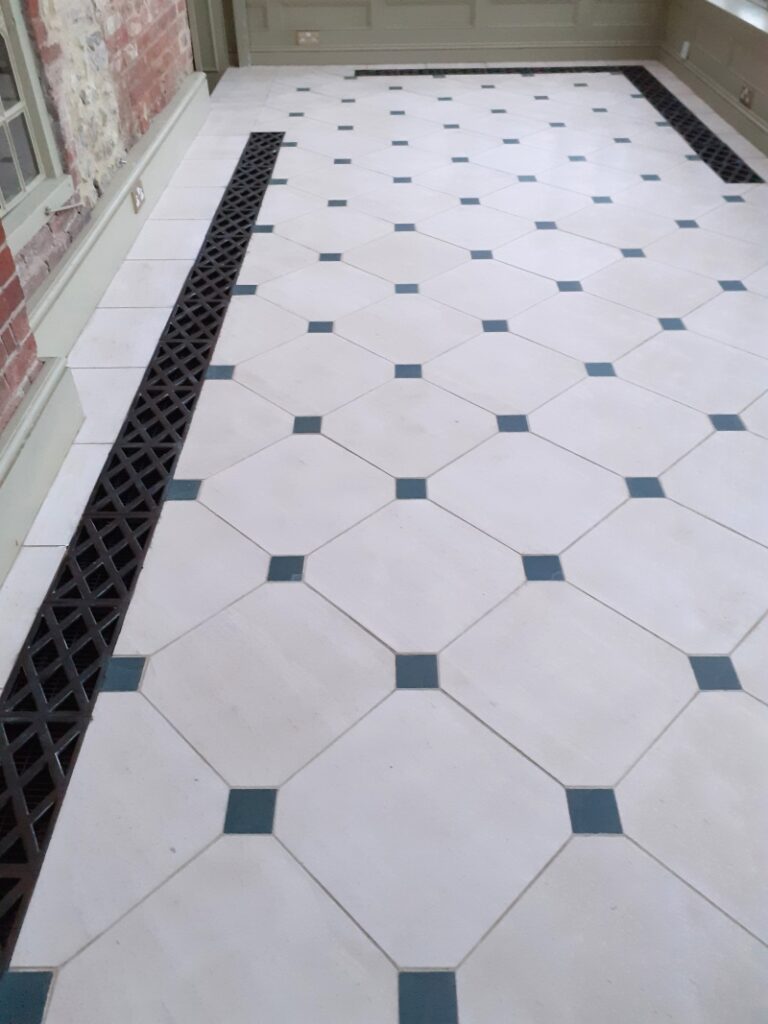
To confirm the effectiveness of the new sealer I conducted a fluid resistance test on various parts of the floors. This is a simple test using a drop of water which if the tile is sealed properly will cause the water to form a bubble.
The client was very impressed with the result and greatly relieved that he didn’t have to go to the potentially much greater expense of replacing the floor. Before leaving I took time to discuss maintenance cleaning and the importance of using a cleaning product that won’t damage the sealer. In this case I recommended the use of Tile Doctor Neutral Stone Soap which is a gentle but effective cleaner that helps build a patina on the stone.
Professional Renovation of a Limestone and Slate Tiled Conservatory Floor in Norfolk
Grubby and Scratched Portland Limestone Conservatory Floor Renovated in Docking Read More »


